Prerequisites
You have configured target servers for source servers to be migrated. For details, see Configuring Target Servers.
Procedure
- Double-click the RDA icon on the desktop or RDA.exe in the installation directory to start the RDA client. Enter the username and password to log in to the RDA console.
- In the navigation pane on the left, choose SMS > Servers.
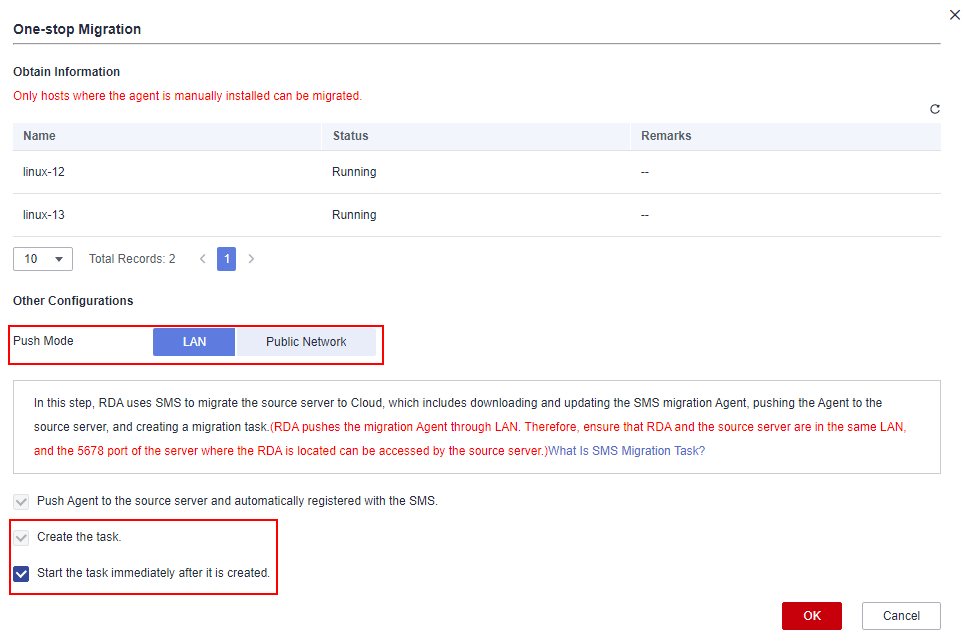
- Select the source servers for which you have configured target servers and click One-stop Migration. To learn how to configure target servers for source servers, see Configuring Target Servers.

Make sure that the Agent has not been installed on or has been uninstalled completely from the selected source servers.

- In the Other Configurations area, select Push Mode, select Create the task and Start the task immediately after it is created, and click OK.
- Wait until the migration tasks are created and started, and the system will install the Agent on the source servers. After the installation is complete, the migration starts.In the server list, click
 in the Status column to view the Agent installation process and status.Figure 1 Agent installation process
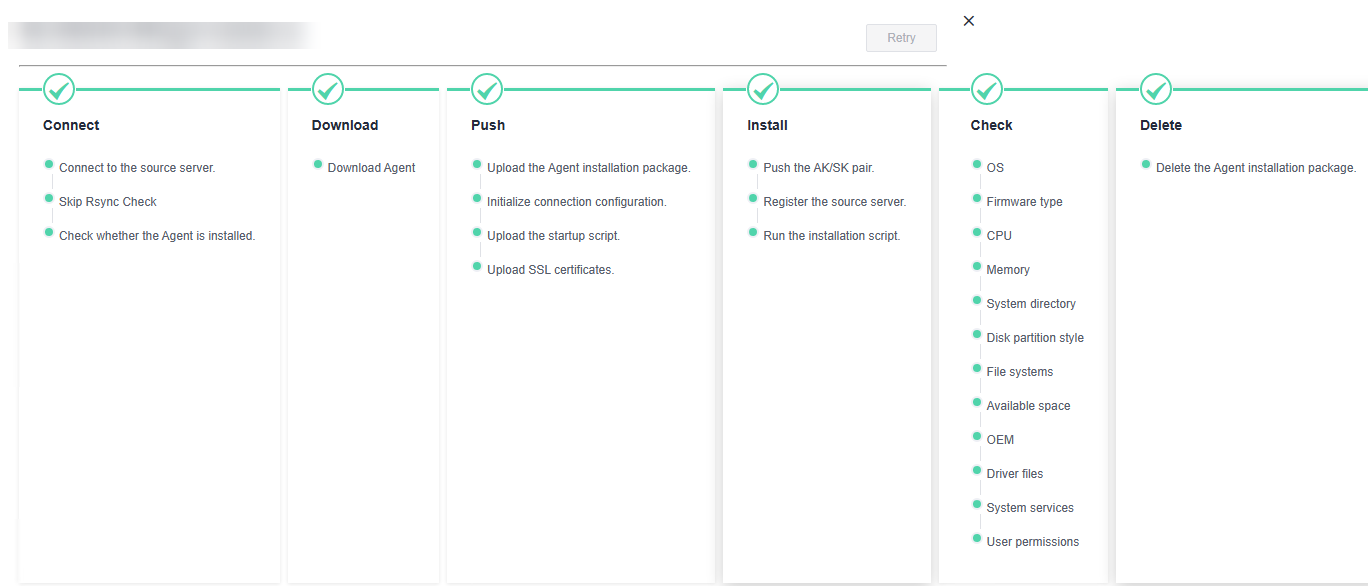
During the migration, you can click icons in the Status column to view the migration progress.
Follow-Up Operations
You can perform the following operations on a created task.
Operation |
Description |
|---|---|
Starting a migration task |
Click Start in the Operation column or select the created task and click Start in the upper left corner. |
Performing an incremental synchronization |
Click Sync in the Operation column or select the created task and click Sync in the upper left corner. |
Pausing a migration task |
Choose More > Pause in the Operation column or select created task and click Pause in the upper left corner. NOTE:
You can only stop a running task. |
Uninstalling the Agent |
Select the created task and choose Task Operation > Uninstall Agent. |
Deleting a migration task |
Choose More > Delete in the Operation column or select created task and choose More > Delete in the upper left corner. CAUTION:
Before deleting a migration task, you need to uninstall the Agent from the source server. |
Exporting the target server information |
Select the task and click |
